Step 01

Step 07
Create New document first in illustrator. Whatever size you want to work with.
Then create a shape. I create ellipse shape.
Step 03
Apply new gradient as a fill on shape. Use Radial Gradient (Default) Black and White. Reverse the gradient.
Now, go to effect menu. Hover Pixelate menu then color halftone.

Step 05
This dialogue box will pop up. Here, maximum radius orange colored box indicate radius of the halftone circle. Means, how much big or small will be the halftone circle size. I set it 20 px. Channel 1-4 boxes are different color channels. Channel 1 - RGB, Channel 2 - Red, Channel 3 - Green, Channel 4 - Blue. These value must be same for black and white color halftone. If values are different then, it will create colored halftone. All the channel values are define halftone angles. If you set 90 degree all halftone effects create in 90 degrees. Because, it overlap one color to another color. After put all the values hit ok.
Step 06
Now, you created the halftone effect but there is a problem that is a raster effects. To use as a vector go to object menu then click Expand Appearances.
Note: You have to select the shape before apply expand appearances.
Go to Window menu from top menu bar click Image Trace.
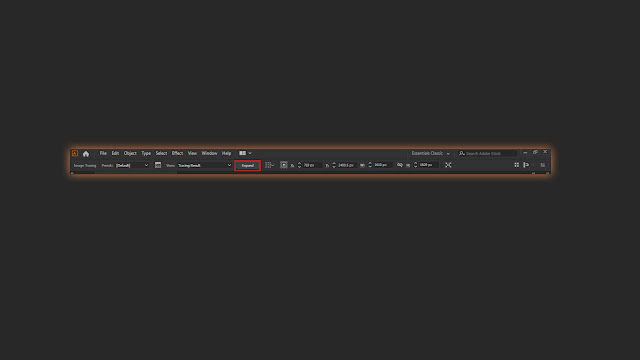
This dialogue box will pop up. Now, select the shape and tick mark on these option Ignore white and Preview. After Click preview, it's take some time then done. Then click Expand from top bar or from the properties panel.
Good Job!
Now, you how to create dotted halftone effects in adobe illustrator. If you learn something from this tutorials, please share with your friends.
Bangla Video Tutorial (English Subtitle)
Thank you!


Post a Comment